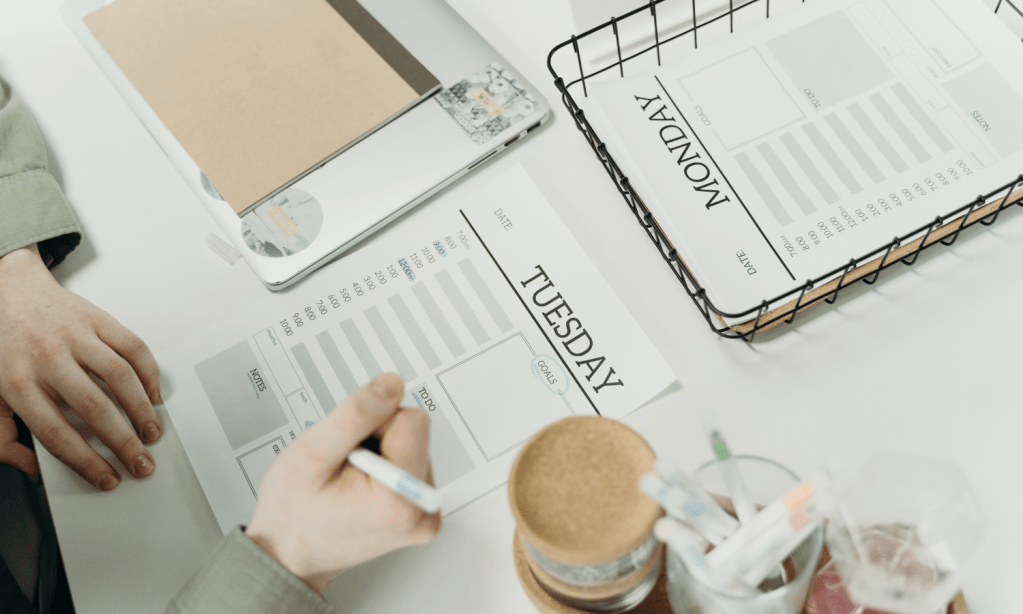
This post might not be for everyone and that’s ok. I decided to make my own planner after I realized the big, fancy, and expensive planners I usually buy always ended up collecting dust by June. Believe me, I had the best intentions when I bought them, but usually they were too bulky, and many of the sections I never used. You can stick with whatever works for you, but I’m finding something that I can create and modify as I go along is better than anything I can buy in the store.
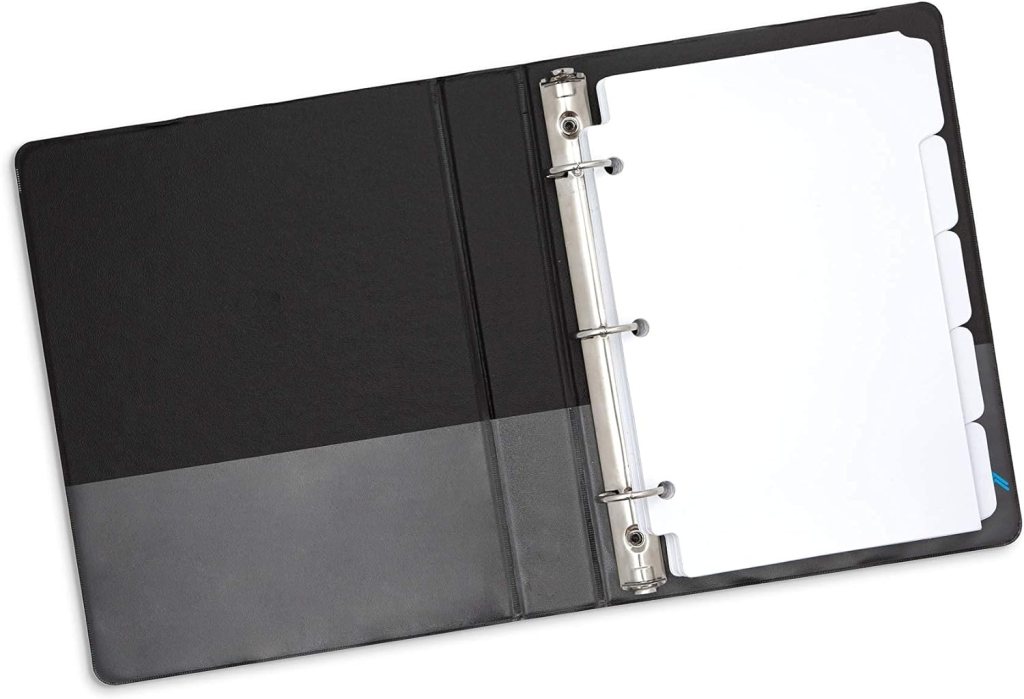
I made my own planner a couple of years ago. The problem was it was too big, 8.5×11 inches. I came across a 5.5×8.5 binder when I was cleaning out my desk. I’ve found this size works better for me because it isn’t so big, which is important since it goes everywhere with me. Fortunately, this binder already had alphabetical tabs, so all I had to do was flip them over to the non-printed side. I found a ton of this-sized binder on Amazon, some very basic, and others with cute covers and some bells and whistles.
I have gathered a few options for you. Everything listed here is on Amazon. Yes, I am an Amazon associate and may make a commission if you decide to purchase any of these. This comes at no cost to you. Honestly, I am not an influencer that makes a ton of money from Amazon. I like Amazon because it saves me time and I thought why not make a few cents if someone else likes what I like and decides to purchase it.
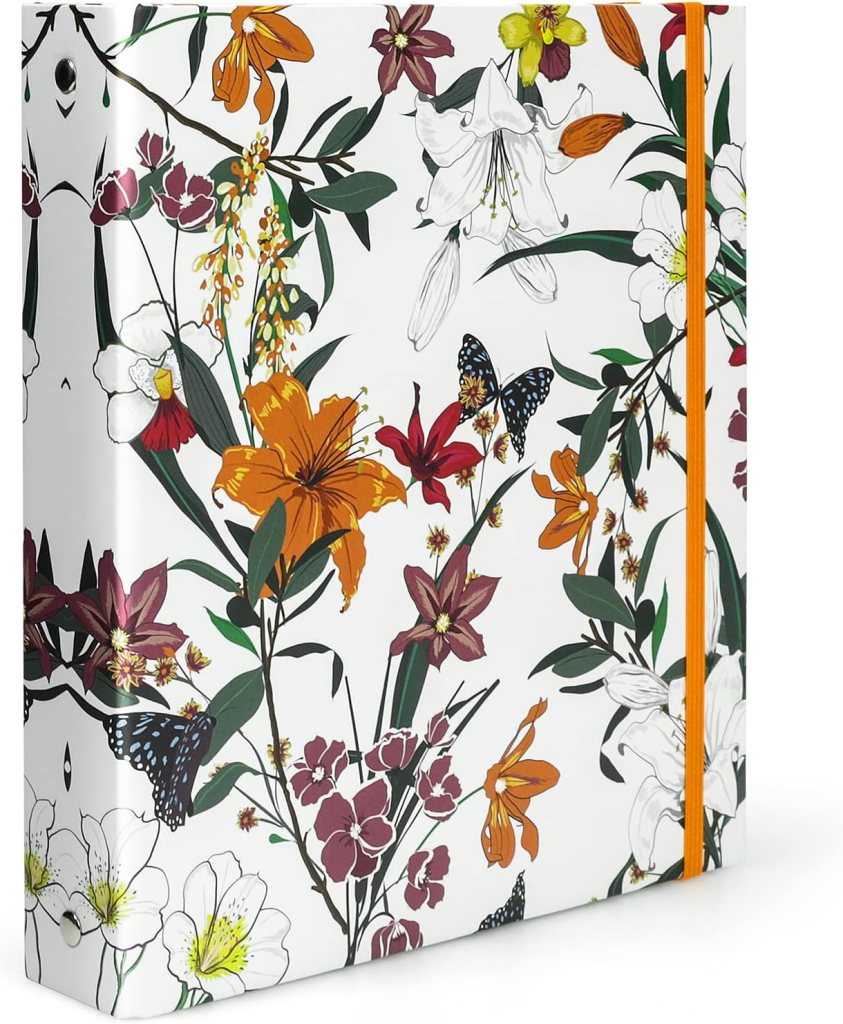
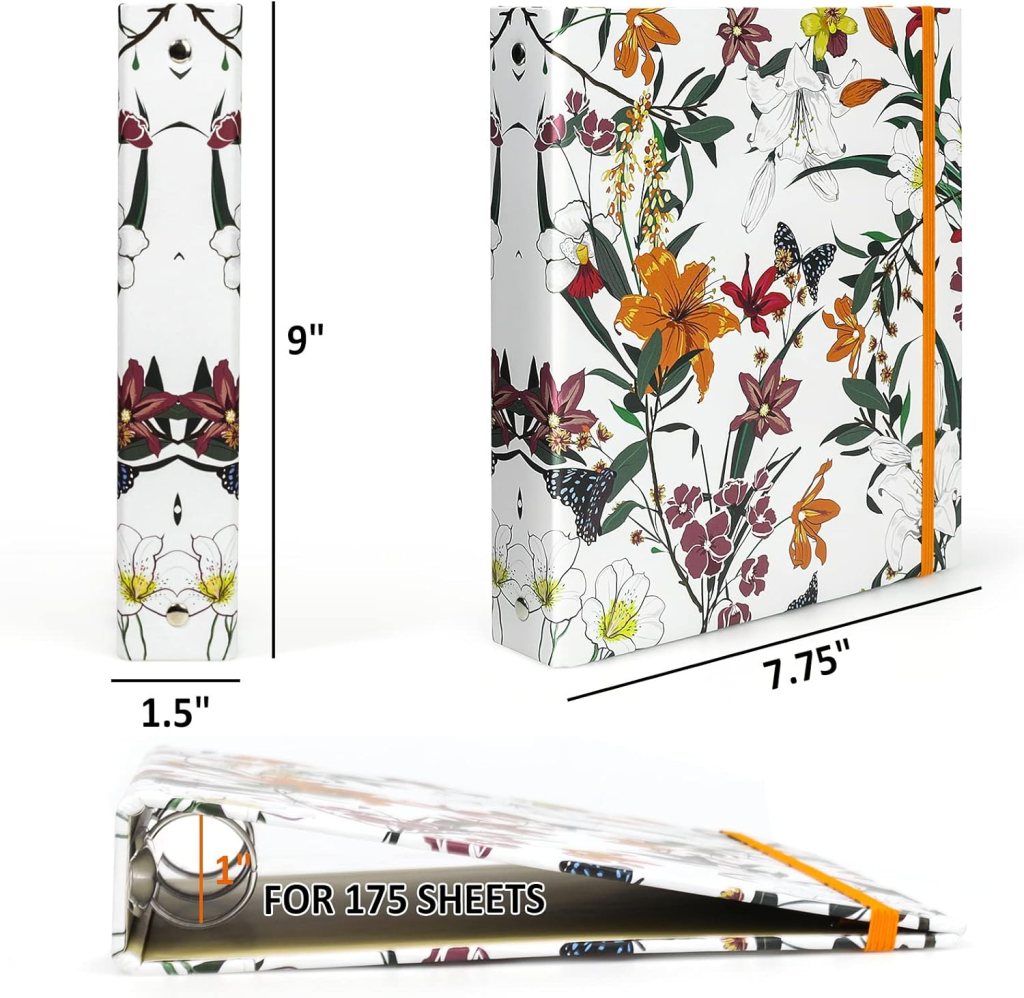
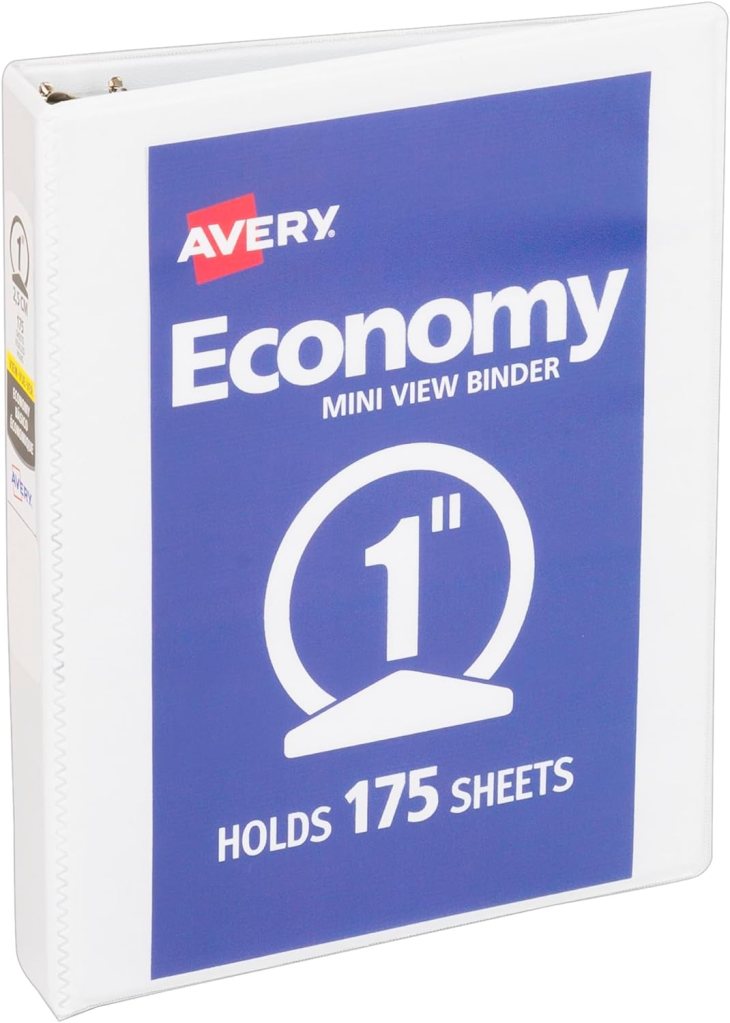
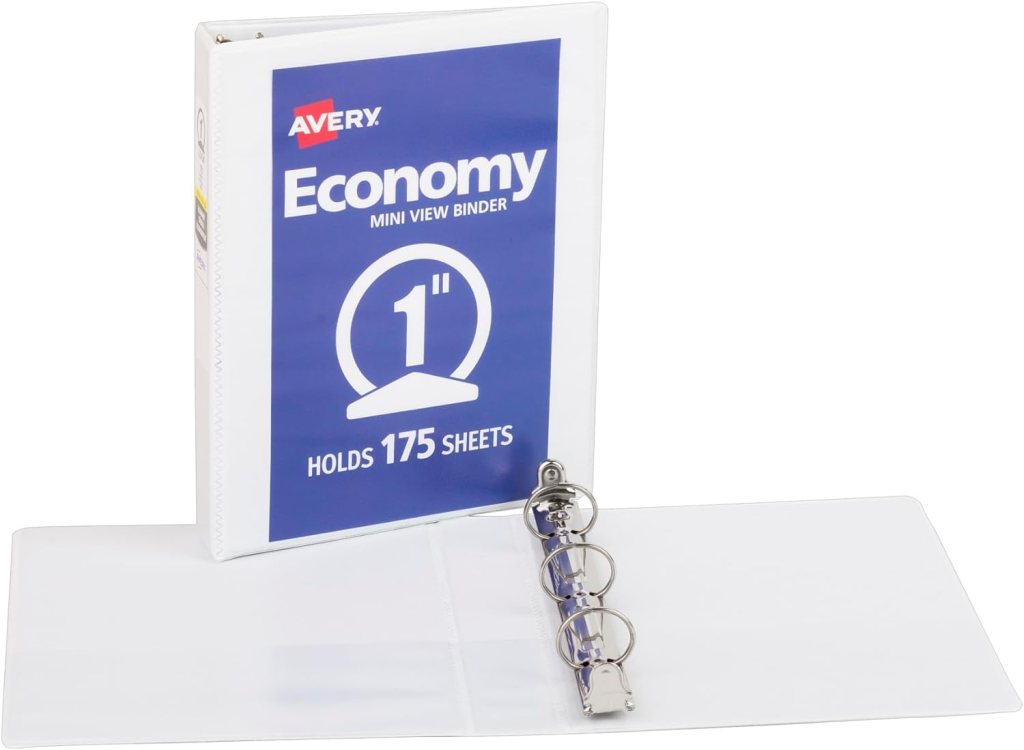
This binder is so cute and I love that it has an elastic cord to keep it closed. This will hold 175 sheets of paper. The matt finish is scratch resistant. This does not have any dividers in it, but the price is right and you can always purchase some or make your own.
This pack of 4 small binders has my head swimming with ideas! You could use one as your planner, one for a daily journal, one as a dream/goal/visualization journal, and my favorite thing a mini cookbook of all your favorite recipes. These also have an elastic band to keep them closed. I might have to invest in these.

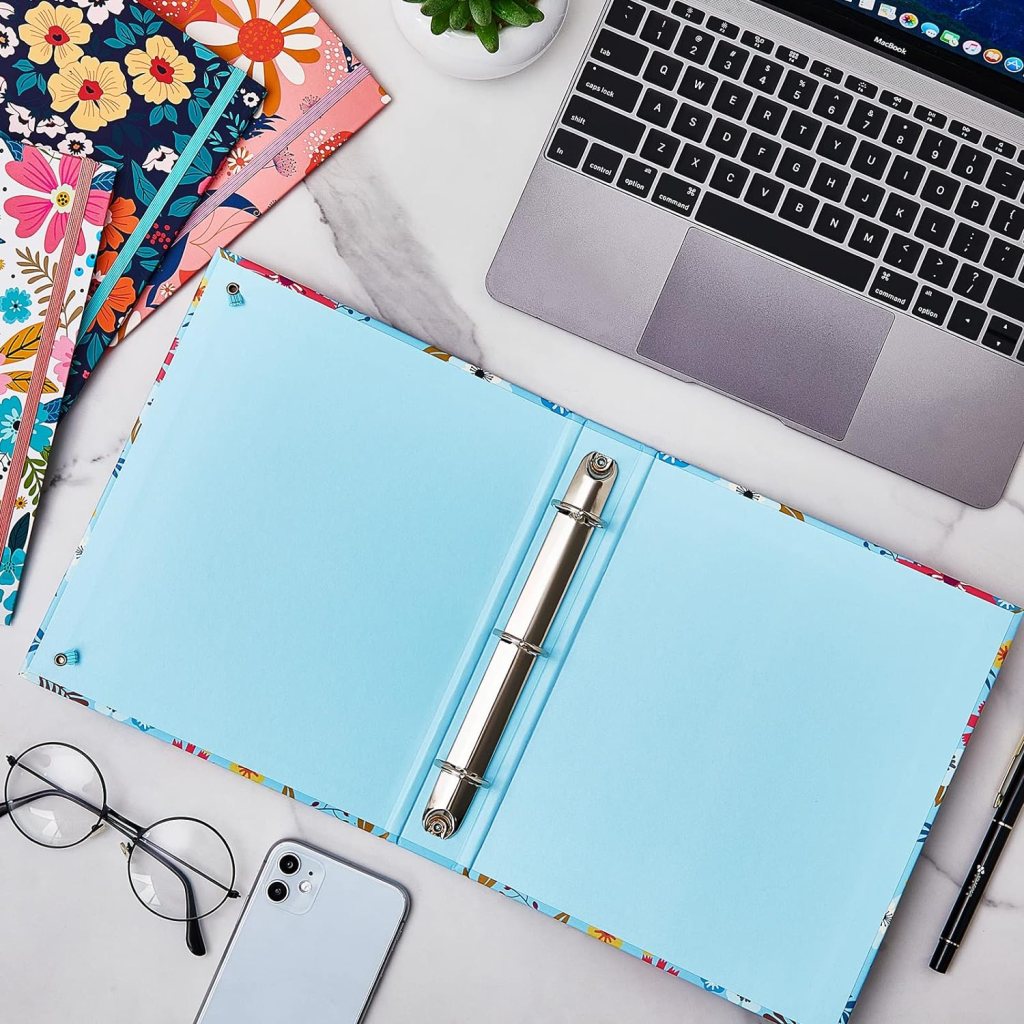
The binder I had is similar to this. I like being able to change out the cover on this style. I know it is very basic, but you can customize this in so many ways.
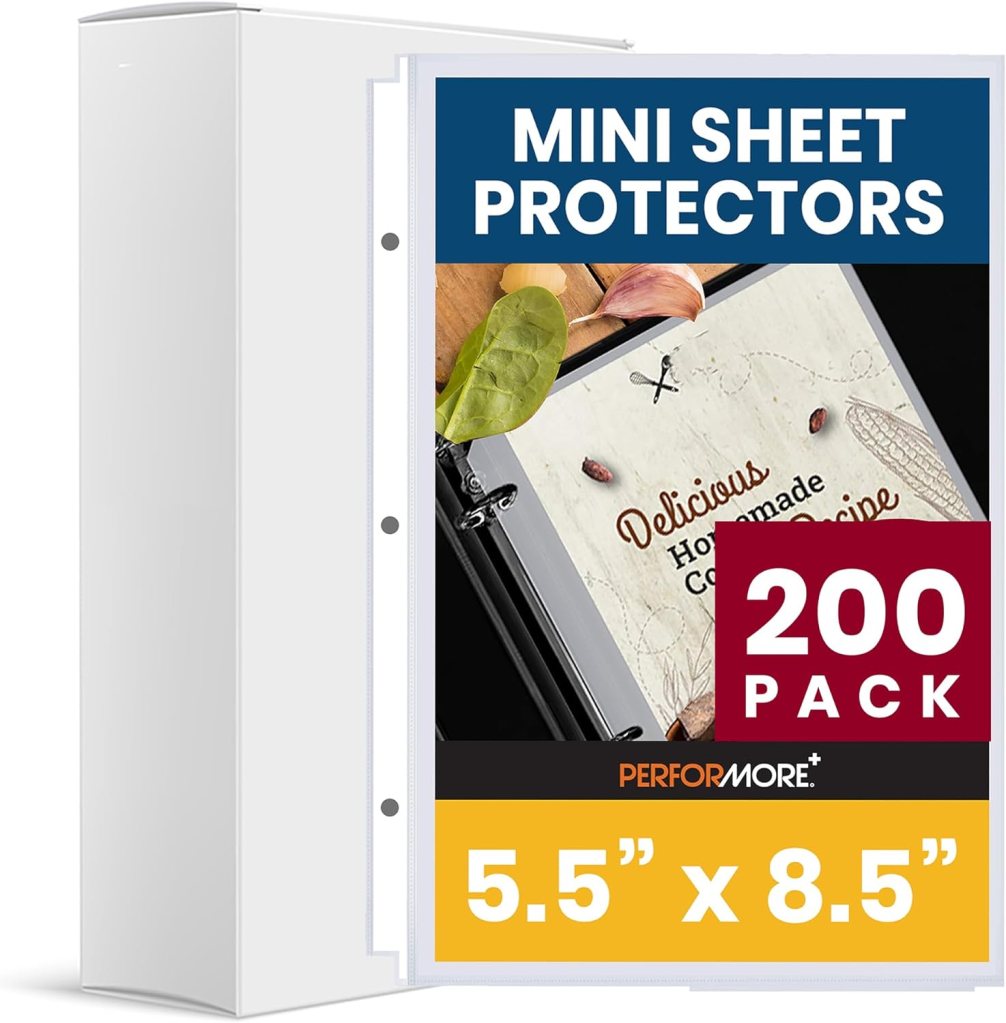
If you decide to do any pages that don’t have to be accessed all the time, like month pages, or your goal page, then invest in some sheet protectors.
I have a laminator, but I know not everyone does, nor do they want to spend the money on one, so these are a perfect option.
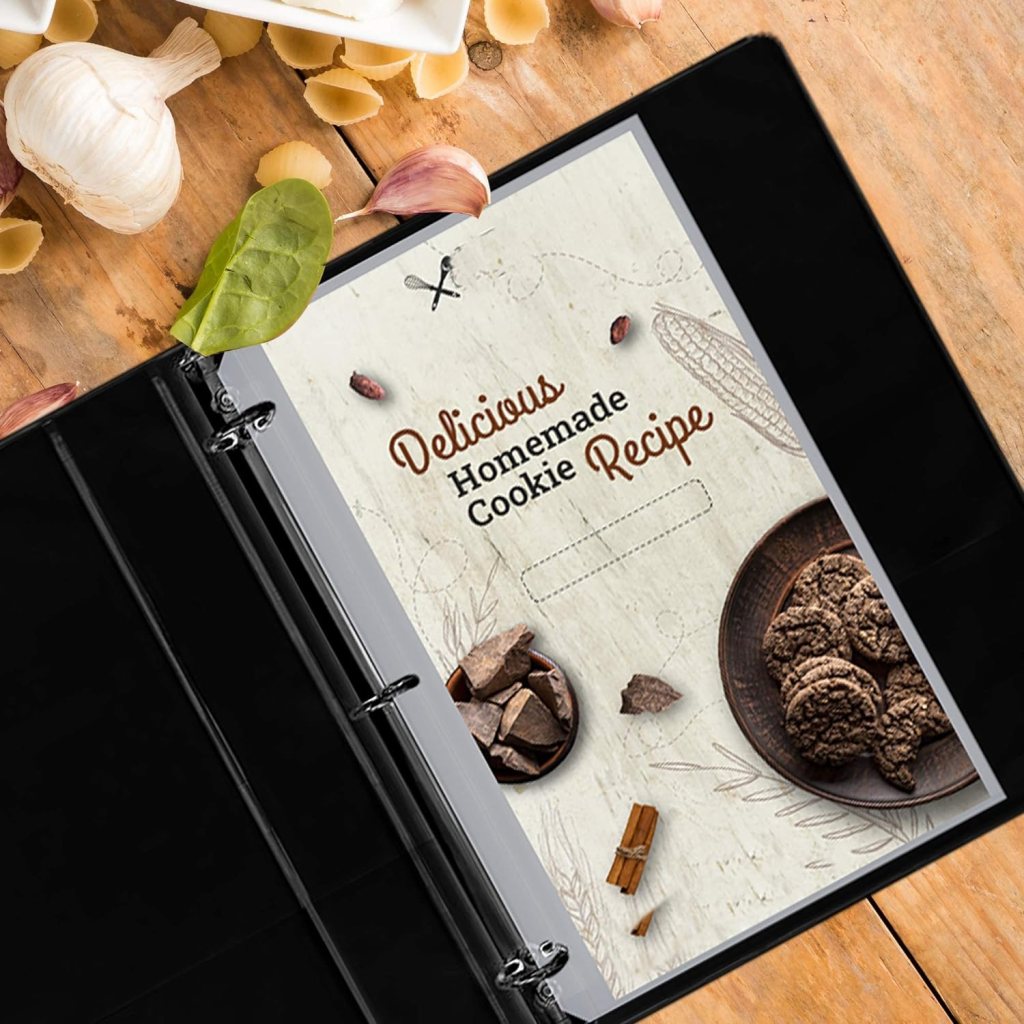
And look, the second pic shows a recipe book! The universe is telling me to do a recipe binder.
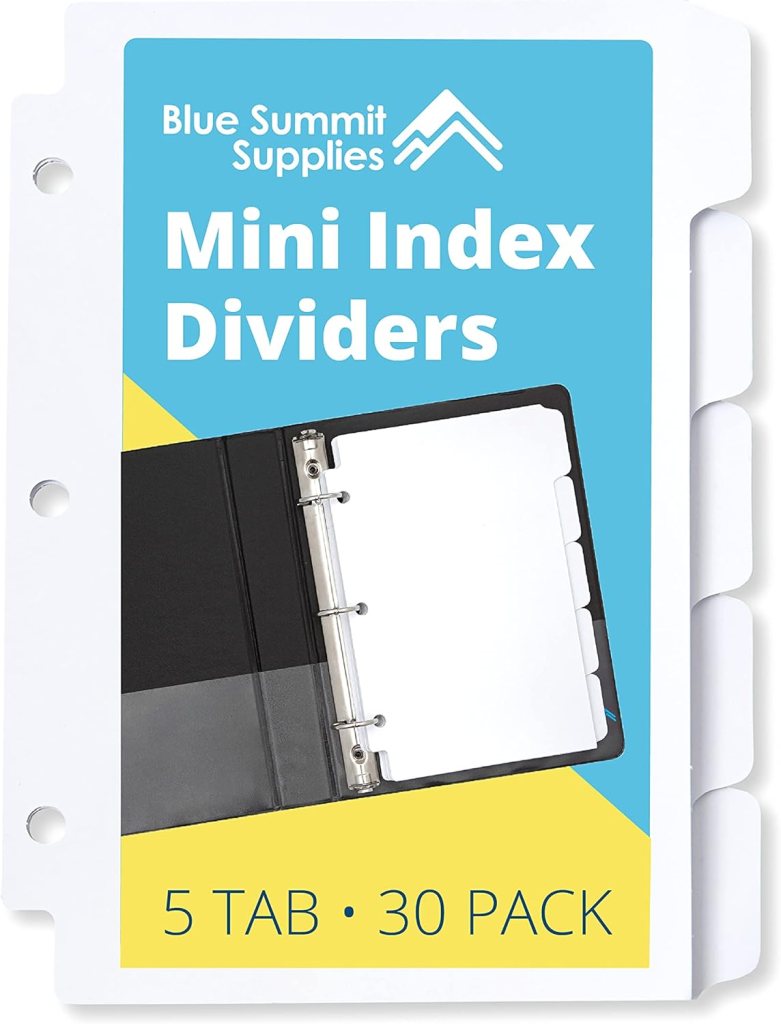
Dividers are a must in my book and should be in yours too. I have 9 tabs in my planner, but only 7 are currently in use.
My tabs are: month, week, notes, habits, goals, work, and personal.
The great thing about making your own planner is you put in what you want, but leave out what you don’t need.
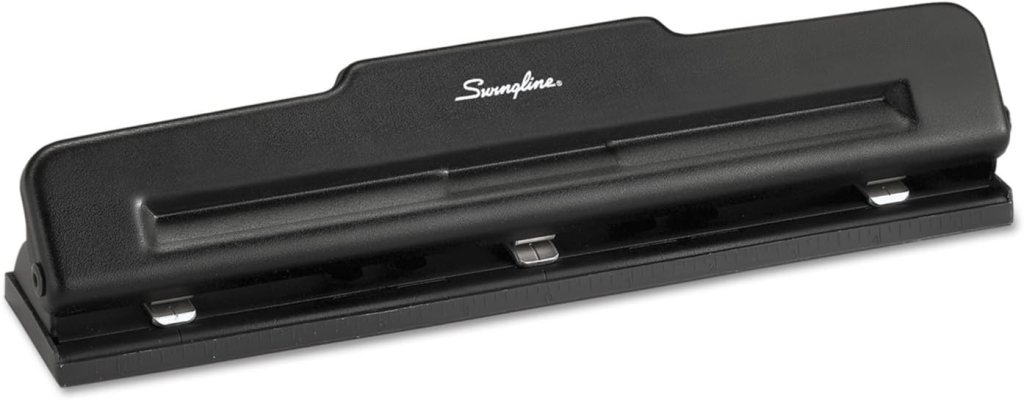
If you don’t have one, you will need an adjustable 3-hole punch. I have one similar to this. I like this one because you aren’t limited to the spacing of the holes like some of the other options.
Those are the basic supplies you will need to make your own planner. I’ll do another post to show you how my planner is laid out, how I’ve made all my pages and the “bookmarks” to make it easy to find the current week/month.
I love to craft, so making my planner was fun for me. If this sounds like too much work for you, go purchase a basic planner at the office supply store or big box store. Don’t spend money on a big fancy planner, most of those have sections you won’t even use. Find the best option for you and get started. Don’t worry that it’s April, anytime is a good time to get organized!
“All you need is the plan, the road map, and the courage to press on to your destination.”
~ Earl Nightingale
